How to Check and Replace Your Brake Pads

The importance of properly functioning brake systems on a motorcycle cannot be overstated. The brake pads play a crucial role in ensuring that your bike comes to a halt safely and efficiently. Regular inspection and timely replacement of these pads are essential for the rider’s safety and overall motorcycle performance.
To maintain optimal braking performance, it’s vital to have a fundamental understanding of how to inspect and change your motorcycle’s brake pads. This process not only keeps you safe on the road but also extends the lifespan of the braking system. With the right knowledge and tools, you can perform this task efficiently.
This guide will walk you through the steps needed to inspect your brake pads and ensure they are in good condition. We will also cover how to replace them when necessary, ensuring that you can ride with confidence, knowing that your motorcycle’s braking system is in peak condition.
Identifying Signs of Worn Brake Pads on Your Motorcycle
Recognizing the signs of worn brake pads on your motorcycle is crucial for maintaining safe riding conditions. One of the most noticeable indicators is a squeaking or squealing sound when braking. This noise typically occurs due to the wear indicators built into the pads, designed to alert you that it’s time for a replacement.
Another sign to watch for is a decrease in brake response. If you notice that your motorcycle takes longer to stop or the brakes feel less effective, this could mean that the pads have worn down significantly. Pay attention to the brake lever or pedal; if it feels soft or spongy, it may indicate that the pads need immediate attention.
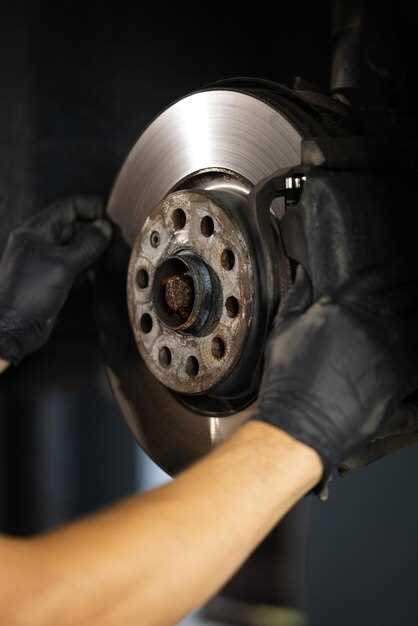
Visual inspection can also reveal the condition of your brake pads. Look through the wheel spokes to check the thickness of the pads. Ideally, they should have a thickness of at least 1/4 inch. If they appear to be significantly thinner, it’s time to replace them. Additionally, uneven wear can indicate problems with the brake system or misalignment and should be addressed promptly.
Another potential sign of worn pads is the presence of debris or dust accumulating on the brake rotor or near the calipers. This can indicate that the pads are breaking down. Taking note of any unusual vibrations or pulsation when applying the brakes can also signal that your pads are deteriorating.
Finally, if you find that your motorcycle pulls to one side when braking, this could be a sign of unevenly worn brake pads. This issue may need further inspection, as it could affect your overall riding stability and safety.
Step-by-Step Guide to Safely Removing and Installing Brake Pads

Inspect your motorcycle’s brake system before starting the removal process. Ensure the motorcycle is on a stable surface and use a center stand or paddock stand for stability. Always wear appropriate safety gear, including gloves and safety glasses.
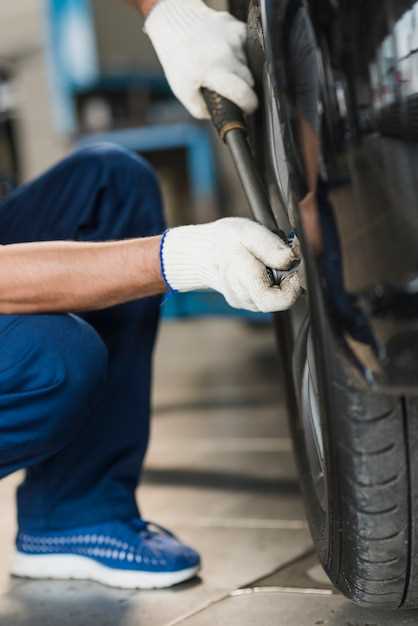
Begin by loosening the wheel nuts slightly while the motorcycle is still on the ground. This prevents the wheel from spinning when you loosen the brake caliper later. Use a proper socket or wrench for this task.
Next, lift the motorcycle using the stand and remove the wheel by fully unscrewing the wheel nuts. Store the removed nuts safely to avoid misplacement.
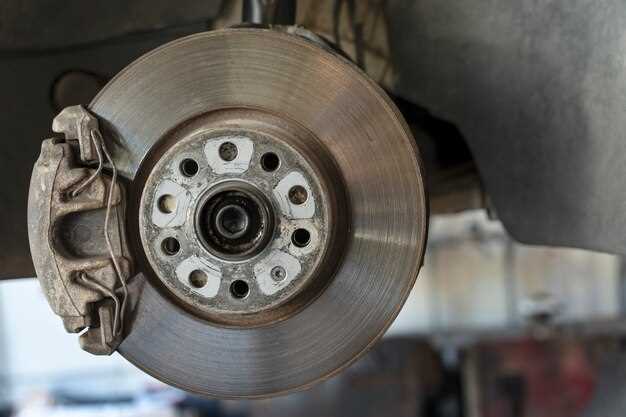
Locate the brake caliper, which houses the brake pads. Inspect the caliper for any visible damage. Use a wrench to remove the caliper mounting bolts carefully. Once the bolts are removed, gently slide the caliper off the rotor. Avoid pulling on the brake line to prevent damage.
With the caliper removed, locate the existing brake pads. They will either be held in place by retaining clips or pins. Remove these components carefully using pliers or a flathead screwdriver.
Once the old pads are free, inspect the caliper piston for any wear or damage. If the piston is pushed out too far, carefully compress it back into the caliper using a brake pad spreader or a suitable tool. This allows space for the new pads.
Now, it’s time to install the new brake pads. Slide the new pads into the caliper, ensuring they align correctly with the retaining clips or pins. Make sure the friction material faces the rotor.
Reattach the caliper onto the brake rotor by sliding it back in place. Secure it by tightening the caliper mounting bolts to the manufacturer’s specified torque. This ensures a safe and secure fit.
With the caliper in place, reinstall the wheel onto the axle, making sure it is seated properly. Hand-tighten the wheel nuts before lowering the motorcycle back down to the ground. Once stabilized, use a torque wrench to securely fasten the wheel nuts to the correct specification.
Finally, pump the brake lever a few times to engage the new brake pads against the rotor, ensuring they are seated correctly. Conduct a safety check by spinning the wheel to ensure there is no rubbing or interference. Your motorcycle’s brake pads are now safely installed and ready for use.
Tools and Safety Precautions for Brake Pad Maintenance

When undertaking the maintenance of your vehicle’s brake system, having the right tools is essential for a successful and safe process. Below is a list of necessary tools that will assist you in inspecting and changing brake pads effectively.
Essential Tools:
- Jack and Jack Stands: These are crucial for lifting the vehicle safely off the ground, allowing easy access to the brake assembly.
- Lug Wrench: Use this tool to remove the wheel nuts, giving you direct access to the brakes.
- Brake Tool Set: This typically includes a pinch tool for compressing the caliper piston, a wrench for brake line work, and various other tools needed for disassembly.
- Torque Wrench: Ensure that you can properly fasten the lug nuts and other components to the manufacturer’s specifications.
- Brake Cleaner: This will be vital for cleaning components during the maintenance procedure to remove dust and debris.
- Dust Mask and Protective Gloves: These provide a barrier against inhaling particles and protect your hands from grease and sharp edges.
Safety Precautions:
- Work in a Well-Ventilated Area: Ensure that you are in a space with good air circulation, especially when using brake cleaner or other chemicals.
- Always Use Jack Stands: Never rely solely on a jack to hold the vehicle up; jack stands are crucial for stability.
- Wear Safety Goggles: Protect your eyes from debris and any chemicals during work.
- Keep a Fire Extinguisher Nearby: Brake materials can be flammable, so having an extinguisher on hand is a wise precaution.
- Follow Manufacturer Guidelines: Refer to the vehicle’s manual for specific instructions on brake pad maintenance, including torque specs and brake fluid types.
- Inspect All Components: While changing brake pads, check other brake system components, such as rotors and calipers, for wear or damage.
By equipping yourself with the right tools and adhering to these safety precautions, you can ensure a smooth and secure brake pad maintenance process. Always prioritize your safety and the proper functionality of your brakes for optimal vehicle performance.