Installing LED Lighting for Better Visibility

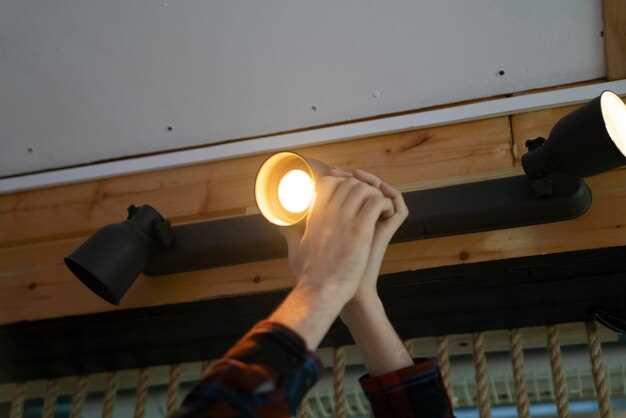
In today’s fast-paced world, proper visibility is crucial for safety and efficiency in various environments. The installation of LED lights offers a custom solution that significantly improves illumination while being energy-efficient. With advancements in technology, LEDs have become increasingly popular not only for their durability but also for their ability to provide bright, reliable lighting in diverse applications.
Whether you’re upgrading your home, enhancing workplace visibility, or illuminating outdoor spaces, custom LED lighting solutions can be tailored to meet specific needs. These versatile lights can be strategically placed to eliminate dark spots, ensure safety, and create an inviting ambiance. By opting for LED technology, users benefit from lower electricity bills, a longer lifespan, and reduced environmental impact, making it an ideal choice for modern lighting solutions.
Implementing a well-thought-out LED lighting installation not only enhances visibility but also allows for creative design opportunities. With a variety of shapes, colors, and intensity options available, you can personalize lighting to fit any aesthetic or functional requirement. As you explore the possibilities, discover how custom LED lights can transform your space into a well-lit and visually appealing environment.
Selecting the Right LED Lights for Your Custom Bike

When building a custom bike, one of the most critical components to consider is the lighting system. LED lights not only enhance visibility but also contribute to the aesthetics of your ride. Choosing the right LED lights is essential for both safety and style.
First, consider the primary purpose of the lights you intend to install. Are you looking for lights that provide maximum visibility during night rides, or are you more interested in decorative lighting options? High-output LED lights are ideal for illuminating dark paths and ensuring you’re seen by others. Look for options with adjustable brightness settings for versatility in different conditions.
Next, think about the location of the LED lights on your custom bike. Front-mounted lights should focus on distance and spread, while rear lights need to be bright enough to catch attention from behind. Some riders opt for side markers to increase visibility from all angles. Each placement serves a purpose, so choose accordingly.
Another factor to take into account is the LED light color. While white lights are standard for front illumination, using red or amber lights at the rear enhances visibility and complies with traffic regulations. For a custom touch, consider colored lights that reflect your bike’s design theme.
Finally, ensure that the LED lights you select are durable and weather-resistant. Quality models should withstand various environmental conditions, including rain and extreme temperatures. Look for products with a good warranty to protect your investment.
In summary, when selecting LED lights for your custom bike, prioritize functionality, placement, color, and durability to create a lighting solution that is both practical and visually appealing.
Step-by-Step Guide to Installing LED Lights on Your Bicycle
Installing LED lights on your bike is essential for enhancing visibility and safety, especially during low-light conditions. Follow this systematic approach for a successful installation.
Step 1: Choose the Right LED Lights
Select LED lights specifically designed for bicycles. Consider factors like brightness, battery life, and mounting options. Front lights should emit white light, while rear lights should be red to ensure compliance with traffic laws.
Step 2: Gather Necessary Tools and Materials
Prepare your workspace with all required materials. Typically, you’ll need the LED lights, mounting brackets, screws (if applicable), a screwdriver, and batteries. Check the manufacturer’s instructions for any specific tools needed.
Step 3: Determine Mounting Location
For the front light, position it on the handlebars or head tube, ensuring it’s at an appropriate height for maximum visibility. The rear light should be mounted on the seat post or rear of the bike to ensure it can be seen from behind.
Step 4: Install the Front LED Light
Attach the front LED light using its mounting bracket. Ensure it is secure, and adjust the angle so that the light shines forward without blinding oncoming traffic. Tighten screws if necessary and double-check stability.
Step 5: Install the Rear LED Light
Position the rear LED light according to the chosen mounting spot. Use the bracket to secure it firmly. Ensure the light is visible from a distance and in line with other rear lights on vehicles to maximize visibility.
Step 6: Insert Batteries and Test Lights
If your LED lights require batteries, insert them according to the instructions. Once installed, turn on the lights to confirm they are functioning properly. Check for bright visibility and make any necessary adjustments.
Step 7: Safety Check Before Riding
Before heading out on your bike, perform a final check to ensure that both lights are secure, properly positioned, and working effectively. This step is crucial for ensuring your safety during your ride.
Step 8: Maintenance Tips
Regularly check your LED lights for functionality, especially before long rides. Clean the lenses to maintain brightness and replace batteries as needed. Consider investing in rechargeable lights for convenience and efficiency.
By following these steps, you will enhance your bike’s visibility with LED lights, making your rides safer and more enjoyable.
Maintenance Tips for Long-lasting LED Visibility Solutions

Proper maintenance of your LED lighting is essential to ensure optimal performance and durability. Here are some key tips to keep your custom bike lighting system in top condition.
1. Regular Cleaning: Dust and dirt can accumulate on the surface of LED lights, reducing their brightness. Use a soft, damp cloth to gently clean the lenses and housing of your lights. Avoid harsh chemicals that could damage the materials.
2. Check Connections: Periodically inspect electrical connections and wires for any signs of wear or corrosion. Secure connections prevent power loss and flickering. Tighten loose screws or connectors to maintain a reliable connection.
3. Temperature Management: LEDs generate some heat, although less than traditional bulbs. Ensure that your bike’s LED lighting is installed in a well-ventilated area to prevent overheating. If you notice any unusual heat buildup, consider repositioning the lights.
4. Use Quality Products: Invest in high-quality, custom LED lights specifically designed for bikes. Quality products often have better materials and longer lifespans. Opt for weatherproof and impact-resistant options to enhance durability.
5. Replace Batteries Promptly: If your LED system uses batteries, replace them as soon as they begin to lose power. Prolonged use after the batteries weaken could damage the circuitry and reduce the lifespan of your lights.
6. Regular Inspections: Schedule regular checks for all components of your lighting system. Look for any signs of damage, such as cracks or frayed wires, and replace parts as necessary to prevent further issues.
By following these maintenance tips, you can ensure that your custom bike LED visibility solutions remain effective and long-lasting, providing you with safety and visibility during your rides.